How to Customize the Toolbar

As with any good macOS application, the toolbar at the top of any window in DEVONthink presents information at-a-glance and buttons for some common commands. Here’s how to customize the toolbar to your own needs.
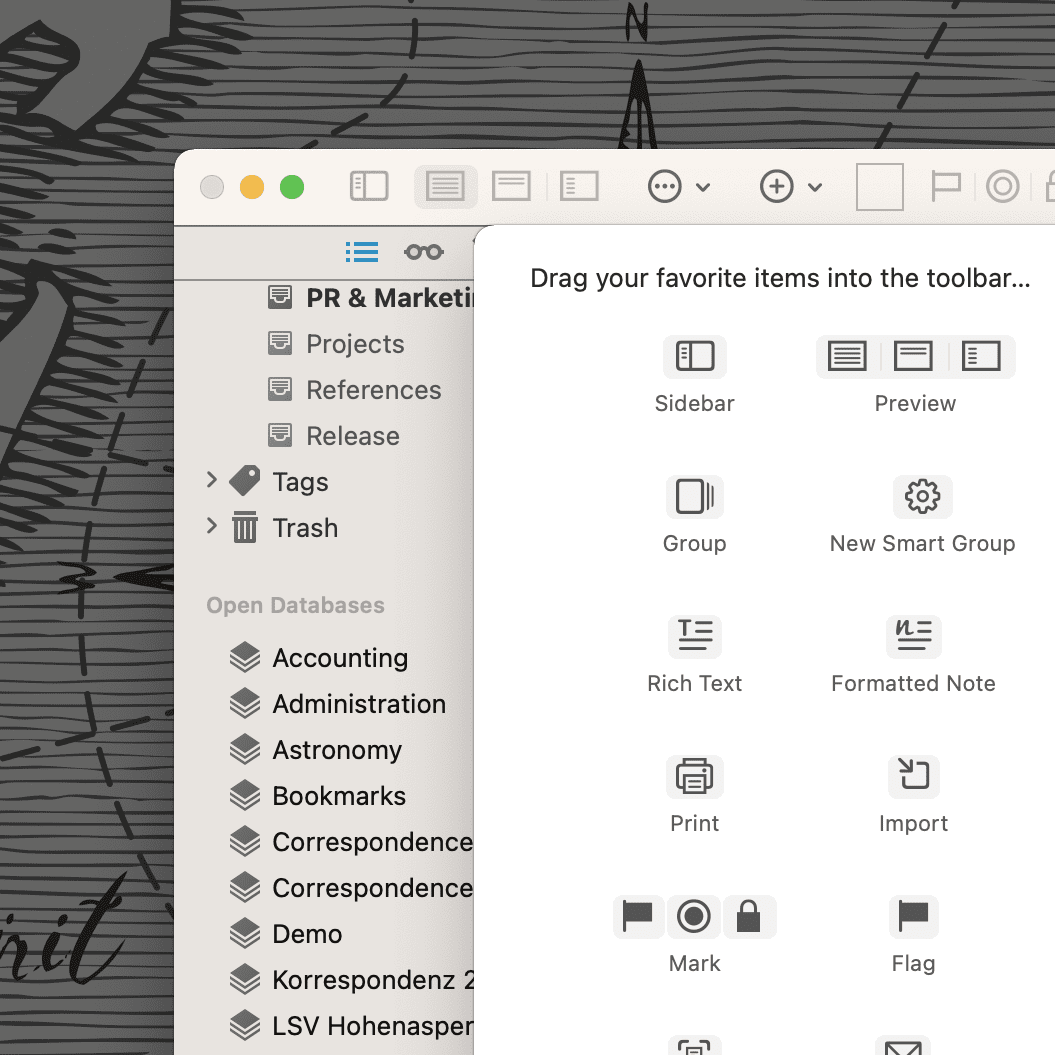
To add items or organize items on the toolbar, select View > Customize Toolbar or Control-click the toolbar and choose the same command. Or _Control_click the toolbar and select one of three display modes, from the one that takes up the most space to the least: Icon and Text, Icon Only, and Text Only.
When using Icon and Text, the toolbar will show the current database and selected item as the window’s title. For some file types the title may include extra info, e.g., the size, number of pages, and current magnification of the preview for PDFs. Conserve space by switching to Icon Only or Text Only.
When you open the custom options for the toolbar, you are presented with a sheet with all the potential buttons you can add to the toolbar. These options cover many of the commands found in DEVONthink’s menus, from adding new files to manually synchronizing databases to flagging and labeling items. Bear in mind, the options for a main window will be different than those for a document window. So be sure to check out each.
In addition, it is possible to add custom scripts and templates to the toolbar.
- For templates: Add or move the template file into
~/Library/Application Support/DEVONthink 3/Templates.noindex/Toolbar - For scripts: Add or move the script into
~/Library/Application Scripts/com.devon-technologies.think3/Toolbar
After you’ve moved the items into place in the Finder, quit and relaunch DEVONthink and new buttons will be available at the end of the available items when customizing the toolbar. Drag them onto the toolbar as you desire.
Lastly, as another method for quickly removing or ordering the toolbar items, hold the Command key and drag an item to move it. Or drag the item off the toolbar to remove it, even when you’re not in the customize mode.
Note: This article deals with an older app generation. Interface elements, menu paths, and procedures could differ.
