

The DEVONtechnologies Blog
How to Use Our Search Services
The Services menu in most native macOS applications provides a variety of context-dependent, handy automations. Our applications extend this menu with powerful search features that you can use in your search workflow.
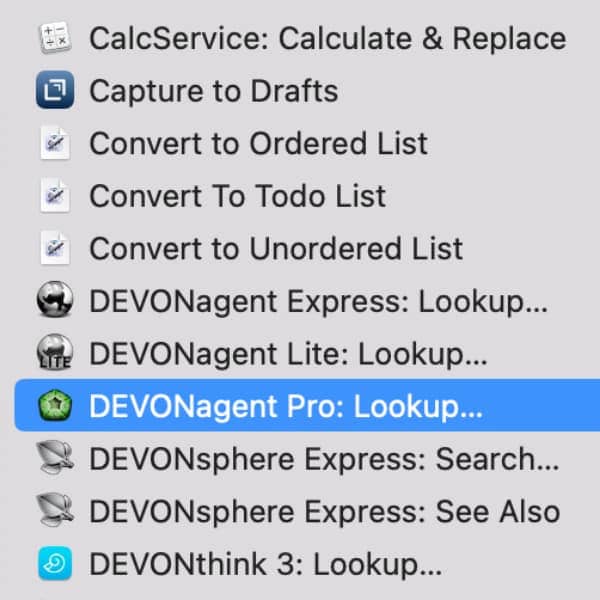
Select a few words in a document, then open the main menu of the application you currently have open and choose Services. Here are some possible options you’ll see from us, depending on what you have installed on your Mac:
- DEVONthink 3: Lookup: Starts a search for the selected text in DEVONthink's current main window.
- DEVONagent Pro: Lookup: Launches a new search window in DEVONagent Pro with the selected terms. Just choose your plugin, scanner, or search set and start searching.
- DEVONagent Express: Lookup: Opens DEVONagent Express, ready to search for the words with your chosen plugin, scanner, or search set.
- DEVONagent Lite: Lookup: Opens our little utility DEVONagent Lite, to launch your browser with the words in your chosen search engine.
- DEVONsphere Express: Search: Opens DEVONsphere Express with your selected words. If the application is already open, it will perform the search automatically.
To make things a little quicker, select Services Settings at the bottom of the Services list. Locate the service you want to use and double-click the hotkey cell at the right. Assign a hotkey to it, e.g., ⇧⌃⌥ /. In the settings you can also disable any services you won’t use to minimize the visual clutter. Now select some text, hit your hotkey, and search more efficiently.
Note: If any of the above services are not listed even though the corresponding app is installed, also check Services Settings at the bottom of the Services list and enable your service of choice.
Note: This article deals with an older app generation. Interface elements, menu paths, and procedures could differ.