

The DEVONtechnologies Blog
How to Make a Printer Alias
We occasionally get requests about printing documents from DEVONthink, more specifically printing multiple documents. While it can’t be done directly in our application, we still have a nice solution for you.
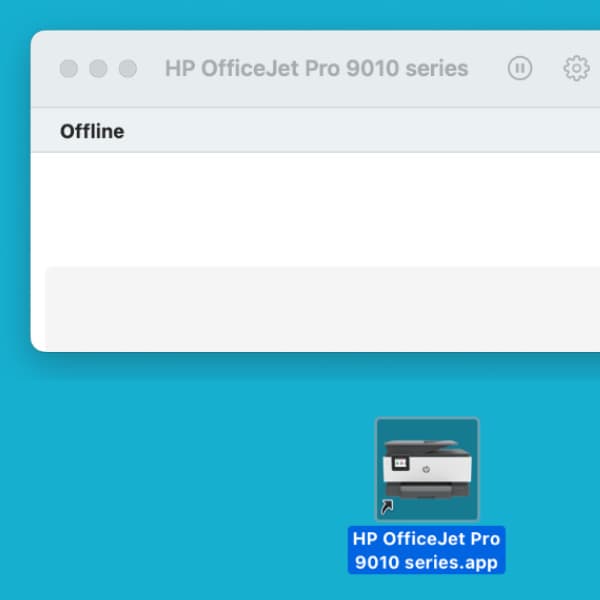
This is actually an update to an old trick. Do a Spotlight search for printers and choose the Printers & Scanners system settings. You should see your installed printer there. Now click and drag the printer’s icon to your desktop. You will see the curved arrow on the cursor indicating it will make an alias. On older versions of macOS you may need to hold the Option and Command keys (⌥⌘) while dragging.
Now select a few documents in your database and drag and drop them onto the Printer Center alias on your desktop. They will be added to the printer’s job list and print one after the other. Double-click the alias to launch the Print Center application, where you can see the job queue and other available features, such as scanning and other information about the printer, like ink levels, etc.
Note: This article deals with an older app generation. Interface elements, menu paths, and procedures could differ.